Friday, July 12, 2013

DIY Wooden Firecrackers

July 4th is one of my favorite holidays...I like summer and popping firecrackers of course.  During my long and much needed vacation from work I did a little craftiness that turned out to be better that I had anticipated!
 
my mom sent me a picture for an idea to make firecrackers from wood and we decided to start on it immediately...since it was July 2nd.  She had some wooden fence posts left over from a new fence that she had jut gotten put up and that made this project super cheap and easy.
 
We wanted to make more, but didn't have enough time before the holiday so I guess I will have to go ahead and start making them for next year!
DIY Wooden Firecrackers
You will need:
  • wooden post or dowel rods (I used fence posts)
  • spray paint or other paint and brush
  • scrap piece of rope
  • wood glue
  • tape for taping off edges
  • miter saw or other saw for cutting posts
Optional:
  • glitter or other embellishments
  • wooden stars and wire
  • Cricut or other die cut machine
  • paper for letters
  • Modpodge and brush
Okay, so lets get started!  First of all, you will need to cut your wooden posts, dowel rods or whatever you decided to use for your firecrackers.  I used a miter saw, but whatever you had that will cut your wood will be fine.
Cut the posts into three different sizes to make a set.  We picked 12", 18" and 24" and also made a smaller miniature set with the leftover posts after cutting the others.

Then, just because they were a little rough on the edges and had been sitting outside for several weeks, we sanded all around the edges to make sure that we wouldn't get any splinters! Ouch!

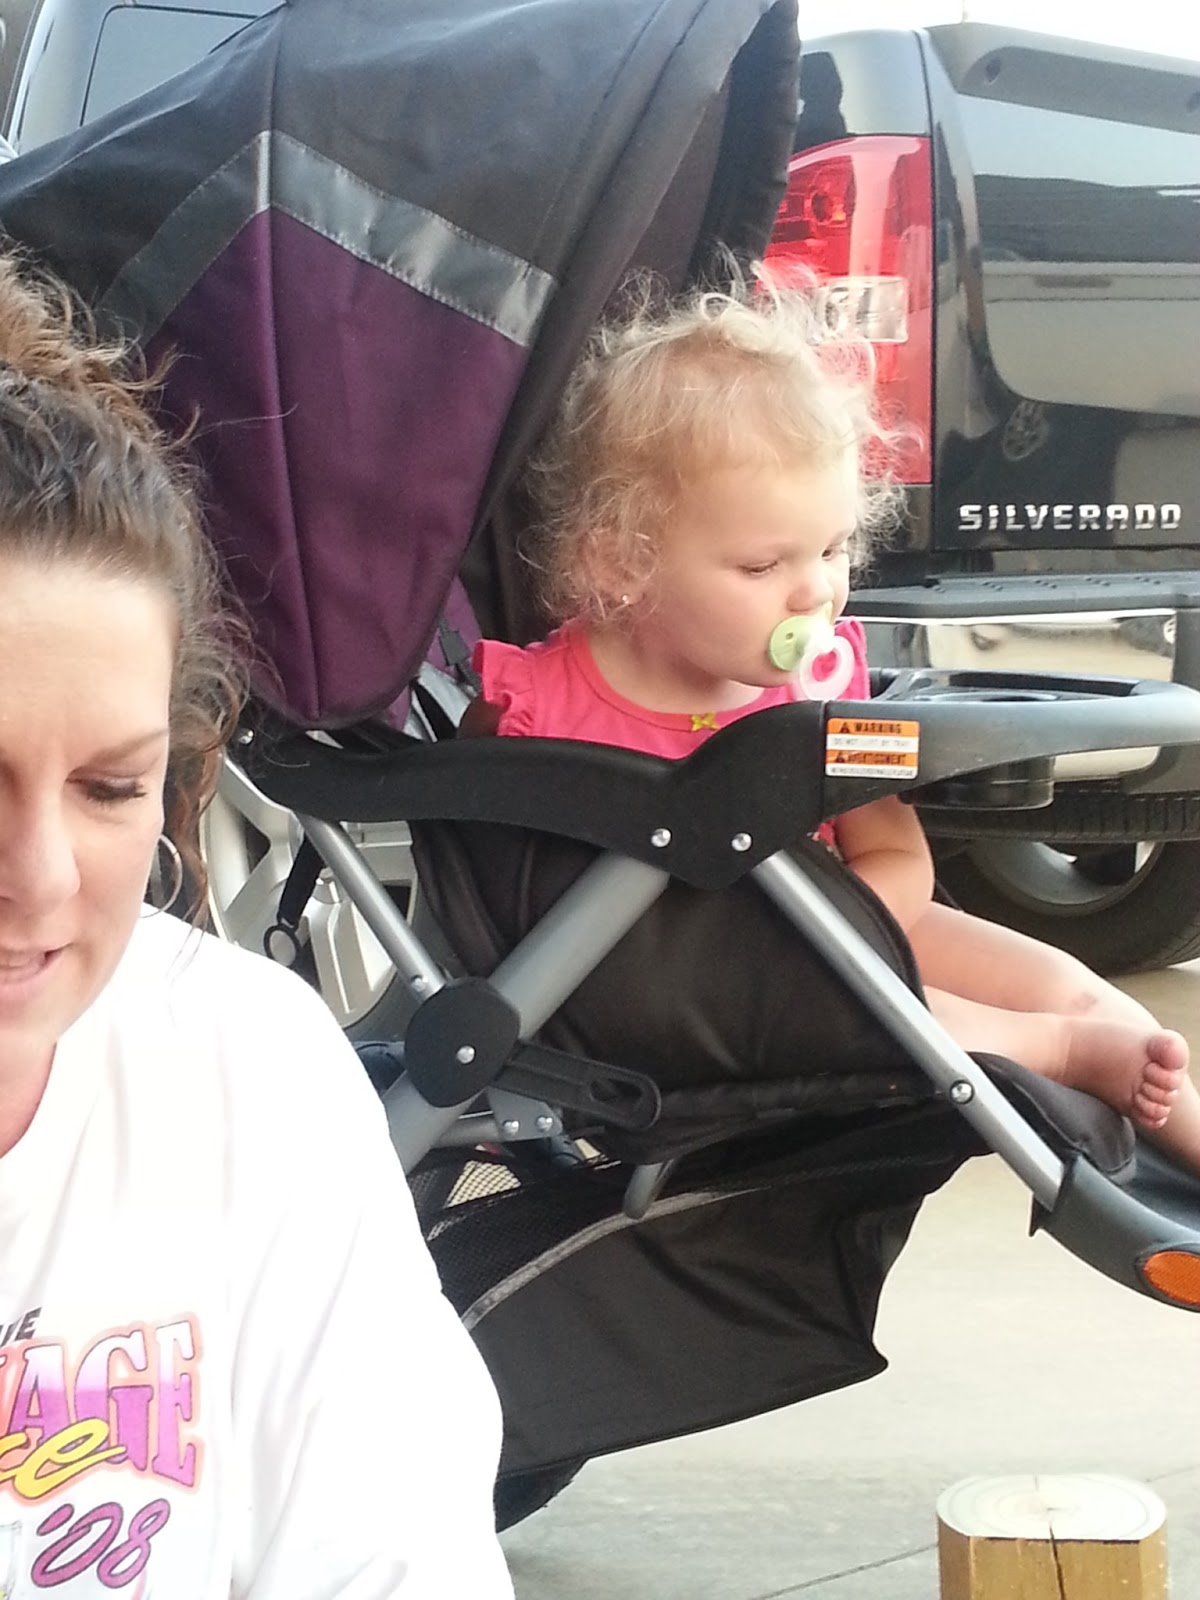
Miss Priss didn't want to go to bed so she stayed up and helped us too! :)
After cutting the posts, use a drill to put a hole in the top of each one for the 'fuse'.  Make sure that you use a drill bit that is comparable to the size of rope you will be putting in that hole to make your 'fuse' and that you make the hole deep enough that you can put the fuse into it and secure it well so that it wont fall out.
 
Now start taping your firecrackers for whatever design you are going to make. 
There are several different designs that you could pick and you can see a few of ours above, but the ones that I am showing you here are for the blue on top and then red and white stripe below.
After taping, and painting and then taping and painting some more, we finally have our blocks ready to go for sanding.  As you can see, the tape doesn't always work exactly like I want it to, but that is okay because for this set we made it look 'antique' like and it worked out perfectly.
We sanded the edges of the colors where they meet as well as along the colors themselves to blend in the stripes and the bleeding paint.  the one on the left has been sanded down and the one on the right was the original paint job before sanding. 
 
See the difference?  The colors are not as bright, but the lines blend together better.
Cut three pieces of rope and fray the edges a little bit...you only have to do this on one side, but when I cut the rope, it frayed itself a little anyway so both sides look frayed.  Also make sure that you leave enough room for it to be pushed into the top of the post and still have enough of a 'fuse' hanging out the top.
Using wood glue, or whatever glue you prefer...put some glue into the holes that you have drilled on top and place the rope into the hold.  I pushed down and held the rope in place for a bit to make sure that it was getting all the way into the glue at the bottom of the hole.
You can then use a lighter to burn the tops of your rope to make it look like it has been lit already and to keep them from fraying any more.  The kind of rope that we used didn't really look much like it has been lit, but it did keep it from fraying so we decided to go ahead and do that to each one.
Design them however you would like.  We used some Modpodge and glitter on a few of ours.  My mom painted the letters on this one below, but I don't have as pretty of handwriting and so I would rather cut them out on my Cricut and Modpodge them on that way...either way would look great!
I have also seen some with wooden stars painted and attached with wire to the firecracker...I love those!
 
There you go!  I bet you never thought you would make homemade firecrackers...and that it would be so much fun! 

Tuesday, June 18, 2013

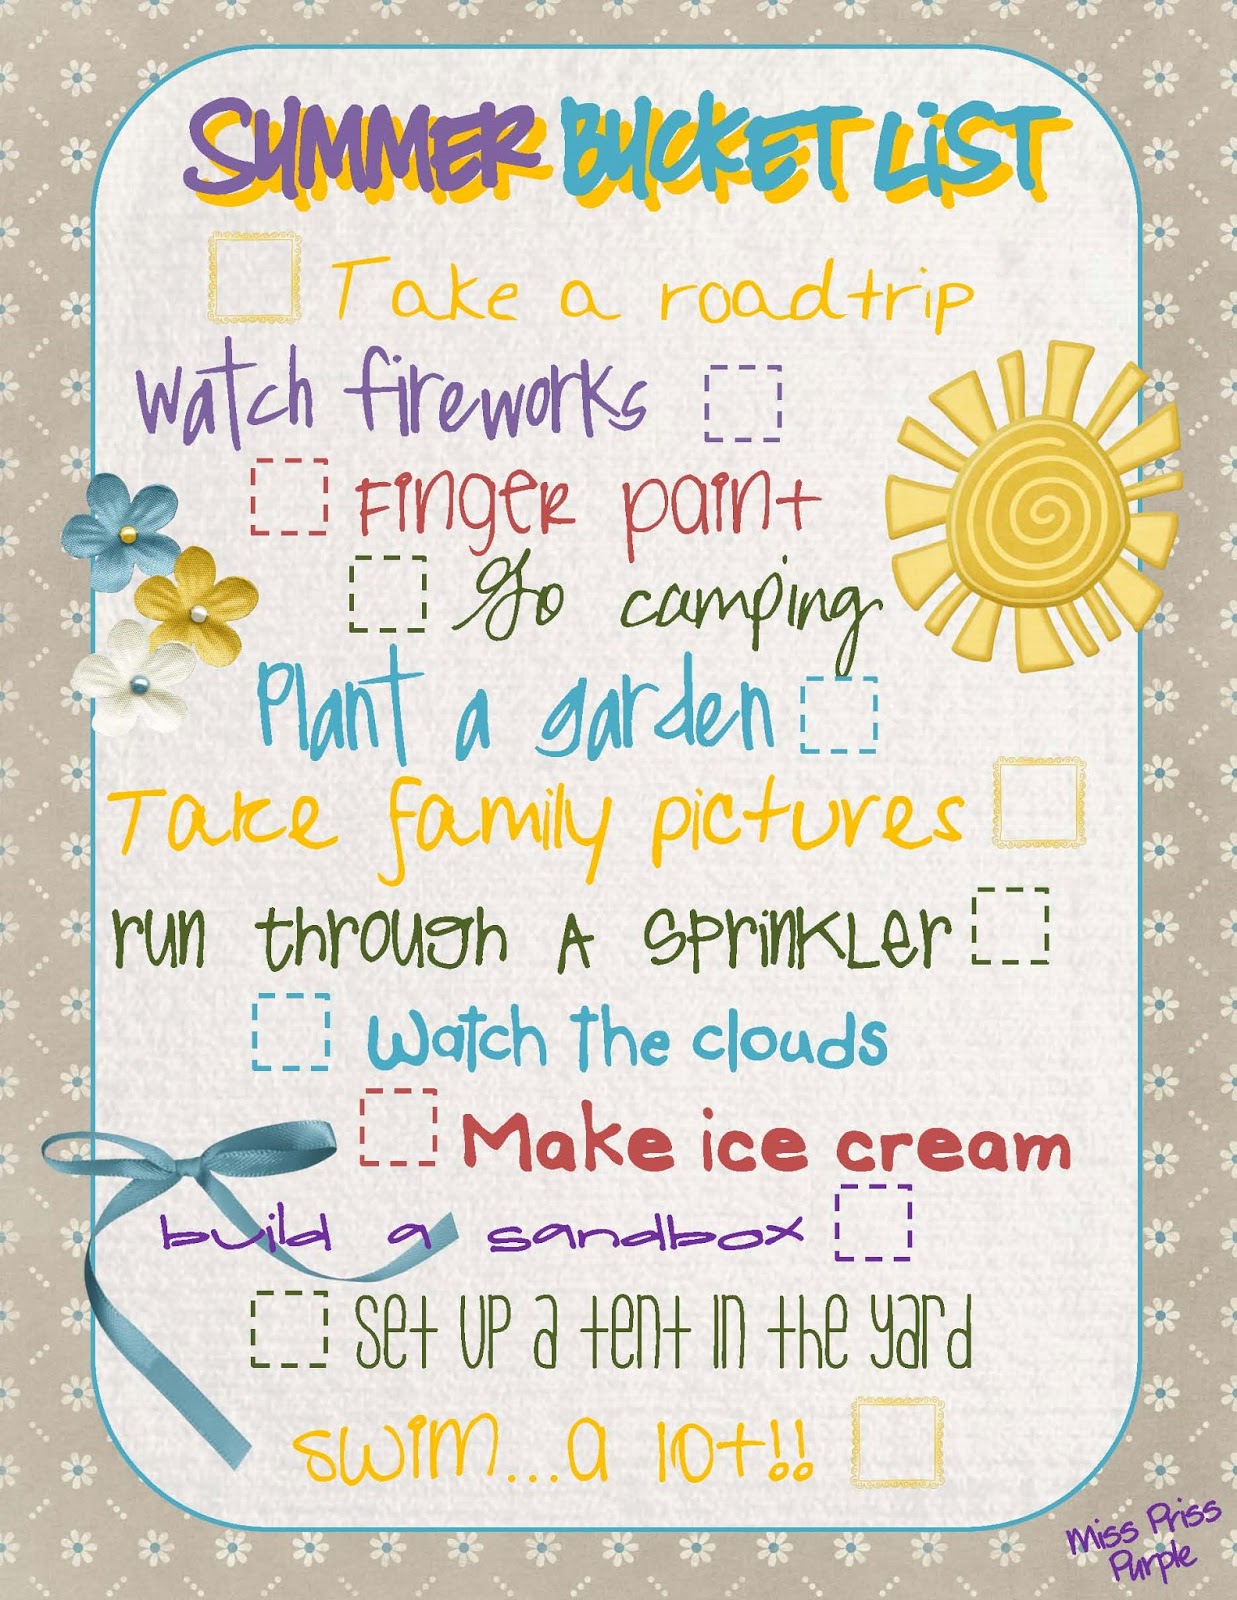
Summer Bucket List {Printable}

Summer time is officially here.  Well ok, not officially until June 21st, but it feels like it and I go by the weather, not the actual date.  We don't have to get all technical and stuff now do we?
 
After all of the rain, chilly weather, tornadoes and severe weather that we have been having, we have finally warmed up for more that one day at a time and so I say summer is here!  I enjoy being outside and so does my baby girl and so I want to plan some fun things for us to do this summer.
 
Even though, I have not been able to do a lot of the things on my Spring Bucket List yet, I think it is time to go ahead and pull out my Summer Bucket List.  I really want to try and accomplish everything on this list with Miss Priss and take pictures so that I can put it into a scrapbook.
 
You might notice that I put 'take family pictures' on my Spring Bucket List as well...this is because I do love pictures and I really want to be able to take lots of family pictures.  I have kept saying this, but have yet to have any actual family pictures made yet!  (If anyone knows how to get a 16 month old to cooperate with pictures please let me know.)  I WILL attempt to get some family pictures made this summer!
 

The links above will take you to a printable PDF version of my Summer Bucket List.

I used the Sweet Shoppe Designs Bring On The Sunshine free scrapbooking kit download to design my bucket list.  You can download this kit for free personal use here:
 
Sweet Shoppe Designs Freebies

You can also check out my Spring Bucket List printable here. 


Sunday, May 26, 2013

Grocery List {Printable}

I live by lists!  I have already created and posted a few of the ones that I have made to keep myself organized, but none of them have been used as much as this one!  I can't go to the grocery store without a list...otherwise, I end up getting things that I don't need and not getting the things that I do need.  I am sure you know what I am talking about, as I think that most people find themselves in this same situation.
 
Each Sunday, I go to the grocery store and get the things that I need for dinner and lunch for the following week and anything other household items that I might need to restock.  I typically buy the same things over and over again and so my list ends up looking the same week after week.  I decided that it was silly for me to create the same list each week and wanted to make a checklist printable so that I can just check what items I need for the week and as I run out of things or if I think of something throughout the week I can just add it to my list. 
 
I have used this week after week since I created it and it has become a staple in my weekly routine.  I printed off a small version of this and put it in my planner so that it is with me always.
 
My list has things on it that I buy frequently so that I don't have to add the same things each week, but I wanted to make it useful for others as well and I realize that not everyone wants to buy what I like to get at the store and so I created a blank grocery list form that is editable in Abode so that you can create your own customizable grocery list.  You can save your list to print off again and again and can change your list as your eating habits change or as you get more familiar with the things that you buy most often.
 
The links below will allow you to download PDF files for printing and the blank forms can be edited to create your own personal lists and allow you to change, update and reprint your list in just a few minutes!
 
 
I used the Sahlin Studio This Carefree Day scrapbooking kit and Sweet Shoppe Designs A Spoonful of Sugar to design my grocery list printables. You can download these kits for free personal use here:
 
Here are the links to some of the other planning printables that I have created:


Tuesday, May 14, 2013

Activity Planning {Printable}

A few months ago I created some party planning printables to use for some birthday parties and an anniversary party that I was planning all at the same time to try and keep myself a little more organized.  I hate being unorganized and it really stresses me out and so I do what I can to keep myself on track.
 
I use a lot of lists...to do lists, grocery lists, shopping lists, packing lists...any kind of list that you can think of.  This is the only way that I can stay sane when I have more than one thing going on at a time.  And that is ALWAYS! 
 
I created a standard format so that I will always have something to make my list on that already has a little structure and gets me going on the right track from the start.  This has been a major help for me and since I know that I am not the only one that has a million and one things going on at all times I want to share these lists for anyone else needing a little structure to use as well.
 
Below is my latest set of planning worksheets created for some Easter and spring activities that I helped my mom with at her church.  This is very similar to the party planning lists that I created several months ago, but has a little different list of items and categories to use.  Every person and every event has different needs and so having more than one format makes it easy for me to pick which one I want to use.
 
The links below will allow you to download PDF files that can be edited to create your own personal lists.  You can also type directly onto these forms in Adobe Acrobat so that your list is readable to everyone who may be helping you and you can change, update and reprint your list in just a few minutes!


I used the Shabby Princess Promise free scrapbooking kit to design my activity planning worksheets.  You can download this kit for free personal use here:
 
Here are the links to some of the other planning printables that I have created: 

Friday, May 3, 2013

DIY Door Vinyl

Well Hello There!  Good Morning Everyone! 
 
It is Friday morning, the sun is shining, and though it is a bit cold outside for May, I am already having a great morning so I wanted to say Hello to everyone before I begin my day.
 
When people come to my front door I want it to be welcoming, and I want it to be cute of course.  I saw the cutest picture of a red door with vinyl on the front of it and thought "I don't want to pay for that when I can do it myself".  I have a Cricut machine and I have some vinyl already so why not make it myself?  I never even thought of using vinyl word art on the front door, but what a super cute idea!  I don't have a red door and I sure don't want to paint it, but I thought that white vinyl on my brown door would be okay and so that is what I did. 
 
Every time I am in the front yard and I see my front door it makes me smile and I hope that each person that comes to my front door does too.  Yet again, another simple DIY project for my home that makes such a big impact by inviting people to come to my door.
 
It doesn't matter if your door is painted or what it is made of.  Wood, metal, glass...any material will work for this project.  That is the beauty of vinyl!  This is such an easy project that I want to share how I did this so that anyone else with the right tools can do this too! 
DIY Door Vinyl
You will need:
  • vinyl in whatever color you choose
  • Cricut (or other similar machine)
Since I am using a Cricut to cut my vinyl I use the Cricut Craft Room software.  It is a free software that connects directly to your machine so that you can design your image on the computer and see what they look like and how they fit onto your paper before printing.  This is great for using different size letters and for saving paper by adjusting how your letters fit onto the paper before you start cutting.
 
You can also use the software to 'weld' your letters together to make them connect as one word rather than having each letter cut separately and then trying to put them together later.  Yikes!
 
I would have liked to have a different font, but this is the only cursive font that I have already and so I used it for this project.  I measured the surface of my door that I wanted to put this word on and then created my image.  This is what it looked like on my screen before I printed.  I created the word and then lined it up the best I could on the page so that I don't waste too much of the vinyl.  Hey, this stuff isn't cheap!
I then cut the correct size vinyl to fit my entire word without a lot of leftovers and placed it on the mat where I need it to print the image.
 You might have noticed that some of my letters have weird overlapping tails on them when I showed you my computer screen image.  Well, you are right...there is nothing that I can do about that on the screen because that is the way the font is designed.  But there is something that I can do about it now that I have my word cut out. 
 
When I was creating my image, I made sure to place my letters so that once I printed it out, I would be able to cut off the extra tails of the letters that I didn't want and still make it look like a 'normal' cursive written word. 
 
I peeled off the vinyl outside of the word so that I could see the word itself better on the background and then cut the extra tails off.  This is what it ended up looking like after I took my scissors to it.  Much easier to do than it sounds I assure you!
For the final step...putting it on the door.  This part too is much easier than it seems, especially if you choose a short word like "Hello".  Before I did this, I made sure to clean the door really well AND made sure that is was dried completely so that I would have no issues with my vinyl sticking. 
 
I then started placing it on there and lining up one letter at a time, but not pressing down hard until I make sure that the entire word was where I wanted it.  I did have to unpeel it a few times to get it lined up correctly and make sure that no bubbles were present, but again, it was much easier than it sounds and since I didn't press hard, it didn't affect the stickiness of my vinyl AT ALL.
  
Once I had it placed exactly where I wanted it I went back and rubbed on it to make sure it was stuck on there good and with no wrinkles in the vinyl.

This was such a fun project and turned out to be much easier than I had imagined and that always makes me feel happy and accomplished!

Make sure you tell someone "Hello" today, just in case they don't come to your front door! 
 
Here is a picture of the one that was for sale on Etsy.  I love the red door here, but wasn't willing to paint mine.  And I like the period at the end.  Hehe  You could pick another word too, such as welcome...or even in another language!

Tuesday, April 23, 2013

Corn Casserole

I have always loved a good casserole, but this is not just any casserole.  This is one of, if not THE best casserole that I have ever had! 
 
Jiffy cornbread mix...do I have to say anything else?  I think not!  That speaks for itself.  Yum.
 
Every time we have a family or holiday get together I am asked to make this.  Not only does it taste great right out of the oven, but it is also good as a leftover for several days and is super easy to make.  It can't get any better than that.  You can even make it the night before and keep it refrigerated until you are ready to serve.  Just make sure that you reheat it in the microwave or oven for that warm cornbread taste.  This is a great dish to take to a work party or any other potluck event as well. 
Corn Casserole
Servings:  12   WW Pts+:  6 
You will need:
  • 1 can creamed corn
  • 1 can kernel corn, drained
  • 1 cup light sour cream
  • 1 stick of light butter
  • 1 box Jiffy cornbread mix
  • 2 eggs
Mix together all ingredients until well blended.
 Pour into a lightly greased casserole dish*.
 
*Any shape or size will do as long as it is about 2 quarts, but the deeper the dish, the longer it will take to cook and might be hard to get done in the middle depending on your oven. I like to use a longer, flat dish rather than a deep one.
Bake for 30-45 minutes at 350°F.
That is it!  So easy and simple and yet ALWAYS a favorite!

Click here for a printable version.

Tuesday, April 9, 2013

Spring Bucket List {Printable}

Spring is here and I am already planning some great fun things to do with my family this year.  Last year Miss Priss was too little to be able to enjoy some great family fun, but this year I think she is ready!

My hubby and I love to be outside and it appears that Miss Priss does too and so this spring and this summer both are going to be a lot of fun...as long as it doesn't get too hot to be outside!  Oh, and we also got a swimming pool put in this year and so I plan on having some great times in the backyard this year.  I am super excited to get to go swimming in my own backyard this summer.
 
I made a Spring Bucket List to start out the sunny season with some things that we can all do as a family, even having a little one around.  I think that Miss Priss is going to have so much fun with her mommy and daddy this year...I just can't wait to get started and get the first thing checked off my list!
 
 
The link above will take you to a printable PDF version of my Spring Bucket List. 

I used the Sahlin Studio Rejuvenate and Treasured Moments and Shabby Princess Promise free scrapbooking kit downloads to design my bucket list.  You can download them for free personal use here: